Uncrating a new cloth stitching machine and sliding it into place is the easy part. Getting it to run reliably at production speed, with acceptable stitch quality and minimal downtime — that's where the real work begins. Factory managers who've been through a few installations know that setup isn't a one-day event. It's a process that stretches over weeks, involving mechanical alignment, electrical integration, operator training, and a fair amount of trial-and-error tuning.
The global textile machinery market has been expanding steadily, with estimates suggesting growth from around $31 billion in 2025 to over $40 billion by 2030. Much of that growth is driven by automation upgrades in existing facilities rather than new factory construction. That means a lot of cloth stitching machines are being installed into older buildings with less-than-ideal infrastructure. Setup in those environments demands extra attention to power quality, floor flatness, and environmental control.
Before the first bolt gets tightened, a thorough site assessment saves headaches downstream. The floor needs to be level within specified tolerances — typically within 1/8 inch over a 10-foot span for most industrial sewing equipment. Uneven floors introduce frame twist, which throws off needle-to-looper alignment and causes inconsistent stitching. A simple laser level and a set of metal shims usually handle minor deviations, but significant floor issues might require a self-leveling compound or even a raised subfloor.
Power supply is another critical factor. Cloth stitching machines with servo drives and electronic controls are sensitive to voltage fluctuations. A drop below 10% of rated voltage can cause drive faults or erratic behavior. Installing a dedicated line with proper circuit protection, and possibly a voltage regulator for areas with unstable grid power, is money well spent. A factory in a Southeast Asian industrial park learned this the hard way — after three drive board failures in six months, they finally installed a line conditioner and the problems stopped.
Ventilation and lighting often get overlooked. Sewing machines generate heat, and thread lint accumulates quickly in poorly ventilated spaces. Adequate airflow keeps the electronics cool and reduces lint buildup on sensors and guides. Good lighting isn't just about operator comfort — it directly affects the ability to spot thread breaks and stitch irregularities before they become quality issues.
Mechanical alignment is where the rubber meets the road. The cloth stitching machine's primary drive components — the main shaft, needle bar, and looper or hook assembly — need to be in precise synchrony. Timing refers to the relationship between needle movement and looper movement. If the looper arrives too early or too late, the needle won't catch the thread loop, resulting in skipped stitches or thread breakage.
The standard procedure involves setting the needle bar to its lowest position, then adjusting the looper so it passes behind the needle at the correct point in the cycle. Most manufacturers provide timing marks on the machine's gears or cams, but these marks are starting points, not final settings. Fine-tuning requires running test seams and checking stitch formation under magnification.
Thread tensions also fall under mechanical setup. Each thread path — needle thread, looper thread, and any cover threads — has its own tensioner. The goal is to balance tensions so the stitch lies flat and the threads interlock in the middle of the fabric layers, not on the surface. A common starting point is to set all tensions to a middle range, then adjust incrementally while sewing a test piece. The right settings produce a seam that looks the same on both sides — no visible thread loops on either surface.
Modern cloth stitching machines come with programmable control systems that store parameters for different fabric types and stitch patterns. Configuration involves entering basic settings: stitch length, sewing speed, presser foot pressure, and thread trimmer timing. But the default parameters are rarely optimal for a specific production line. Fine-tuning these values for the actual fabric weight and construction is what separates a machine that runs well from one that runs great.
Stitch length, for example, interacts with fabric thickness and feed dog design. A stitch that's too long for a heavy fabric will have poor seam strength; one that's too short for a light fabric will pucker the material. The sweet spot depends on the specific combination of fabric and thread.
Many controllers also offer programmable patterns — things like tacking stitches at the start and end of a seam, or automatic thread trimming after each cycle. Setting these up correctly reduces manual operations and speeds up the overall cycle time. But overcomplicating the program can backfire. A machine with too many automated steps is harder to troubleshoot when something goes wrong. The general rule: keep the program as simple as possible while still meeting production requirements.
A cloth stitching machine rarely operates in isolation. It sits in a production line, receiving fabric from upstream equipment — cutters, stackers, or feeders — and delivering finished pieces to downstream stations like folders, stackers, or packaging lines. Integration means ensuring that material flow is synchronized and that the stitching machine's output rate matches the capacity of surrounding equipment.
One common integration challenge is speed matching. If the upstream feeder delivers fabric faster than the stitching machine can process it, material backs up and causes jams. If the stitching machine runs faster than the downstream folder can handle, finished pieces pile up and get wrinkled or misaligned. The solution is either to synchronize speeds through a central line controller or to install buffer zones — accumulation tables or conveyors — that absorb temporary mismatches.
Communication between machines is another layer of integration. Some production lines use a supervisory control system that monitors each machine's status and adjusts speeds dynamically. This level of integration requires compatible communication protocols — typically Ethernet/IP, Profinet, or similar industrial networks. Older machines might need protocol converters to participate in a modern networked line.
A textile operation in Turkey implemented this type of integration across their hemming and folding line. The result was a 22% reduction in line stoppages, mostly from eliminating the manual intervention needed to clear material backups between stations. The key was not just buying new machines but spending the time to tune the communication parameters and material handling interfaces.
The best setup in the world is useless if the operators don't know how to use it. Training needs to cover more than just pushing the start button. Operators should understand basic troubleshooting: how to clear a thread jam, how to change a needle, how to recognize the early signs of timing drift. They should also know when to call for maintenance — and when not to. Empowering operators to handle minor issues reduces downtime and builds ownership of the equipment.
Standard operating procedures (SOPs) document the setup parameters for each product type. A well-written SOP includes machine settings (stitch length, speed, tensions), material specifications (fabric type, thread type and size), and quality checkpoints (seam strength, stitch appearance, dimensional tolerances). SOPs should be posted at the machine station, not buried in a binder in the supervisor's office.
A practical approach to training is the "buddy system": pair a new operator with an experienced one for the first two weeks. The experienced operator demonstrates each task, explains the reasoning behind each setting, and watches the new operator perform the tasks independently. This hands-on transfer of knowledge is far more effective than classroom training alone.
Setup doesn't end when the machine starts producing. A maintenance plan keeps it producing. The plan should specify daily, weekly, and monthly tasks: cleaning lint from feed dogs and thread paths, lubricating moving parts, checking needle condition, and verifying tension settings. These tasks take time, but skipping them costs more in the long run through unplanned downtime and premature component wear.
Spare parts inventory is another setup consideration that often gets deferred until it's too late. A broken needle is a five-minute fix if there's a box of spares nearby. If the right needles aren't in stock, that five-minute fix becomes a two-hour wait for a delivery. The same logic applies to loopers, feed dogs, presser feet, and drive belts. A basic spare parts kit should include consumables (needles, thread, oil) and wear items (loopers, knives, tension discs).
| Maintenance Task | Frequency | Typical Time Required |
|---|---|---|
| Lint cleaning (feed dogs, thread paths) | Every shift | 5–10 minutes |
| Lubrication (specified points) | Daily | 5 minutes |
| Needle inspection and replacement | Every 8 hours of operation | 2–3 minutes |
| Tension verification | Per product change | 5 minutes |
| Full mechanical inspection | Monthly | 30–60 minutes |
A factory in Vietnam found that implementing a rigorous daily cleaning schedule reduced their needle breakage rate by over 40% within the first month. The improvement came from simply removing the lint that was causing uneven thread tension and needle deflection. Small discipline, big payoff.
Once the cloth stitching machine is running, the setup work shifts to optimization. Performance monitoring tracks key metrics: stitches per minute, downtime minutes per shift, defect rate, and thread break frequency. These numbers tell the story of how well the machine and the operators are performing.
Continuous improvement means using that data to make incremental changes. Maybe a slight reduction in sewing speed reduces thread breaks without significantly affecting output. Maybe changing to a different needle size improves stitch appearance. Maybe adjusting the thread stand position reduces tension variation. Each small improvement compounds over time.
Benchmarking against industry standards provides context. ASTM D6193 (which aligns with ISO 4915) classifies stitch types and provides guidance on stitch selection for different applications. Understanding these standards helps in setting realistic performance targets and in communicating quality expectations to customers.
The factories that get setup right — and keep improving after setup — are the ones that consistently ship quality product. They've figured out that a cloth stitching machine isn't a commodity. It's a precision tool that rewards attention to detail and punishes shortcuts.
TPET has been supplying automated sewing solutions to textile manufacturers for years, with equipment ranging from four-side overlock systems to high-speed cross-cutting and hemming lines. The company's approach to machine design reflects an understanding that setup and integration are just as important as the stitching itself — because a machine that's easy to set up and keep running is a machine that actually makes money.

Equipped with advanced magnetic navigation technology, the autonomous vehicle ensures accurate path following and stable operation.

This automatic delivery vehicle is equipped with magnetic navigation technology and is designed for seamless integration with production lines.

With advanced automation technology, this gauze folding machine ensures precise folding, consistent quality, and smooth operation.
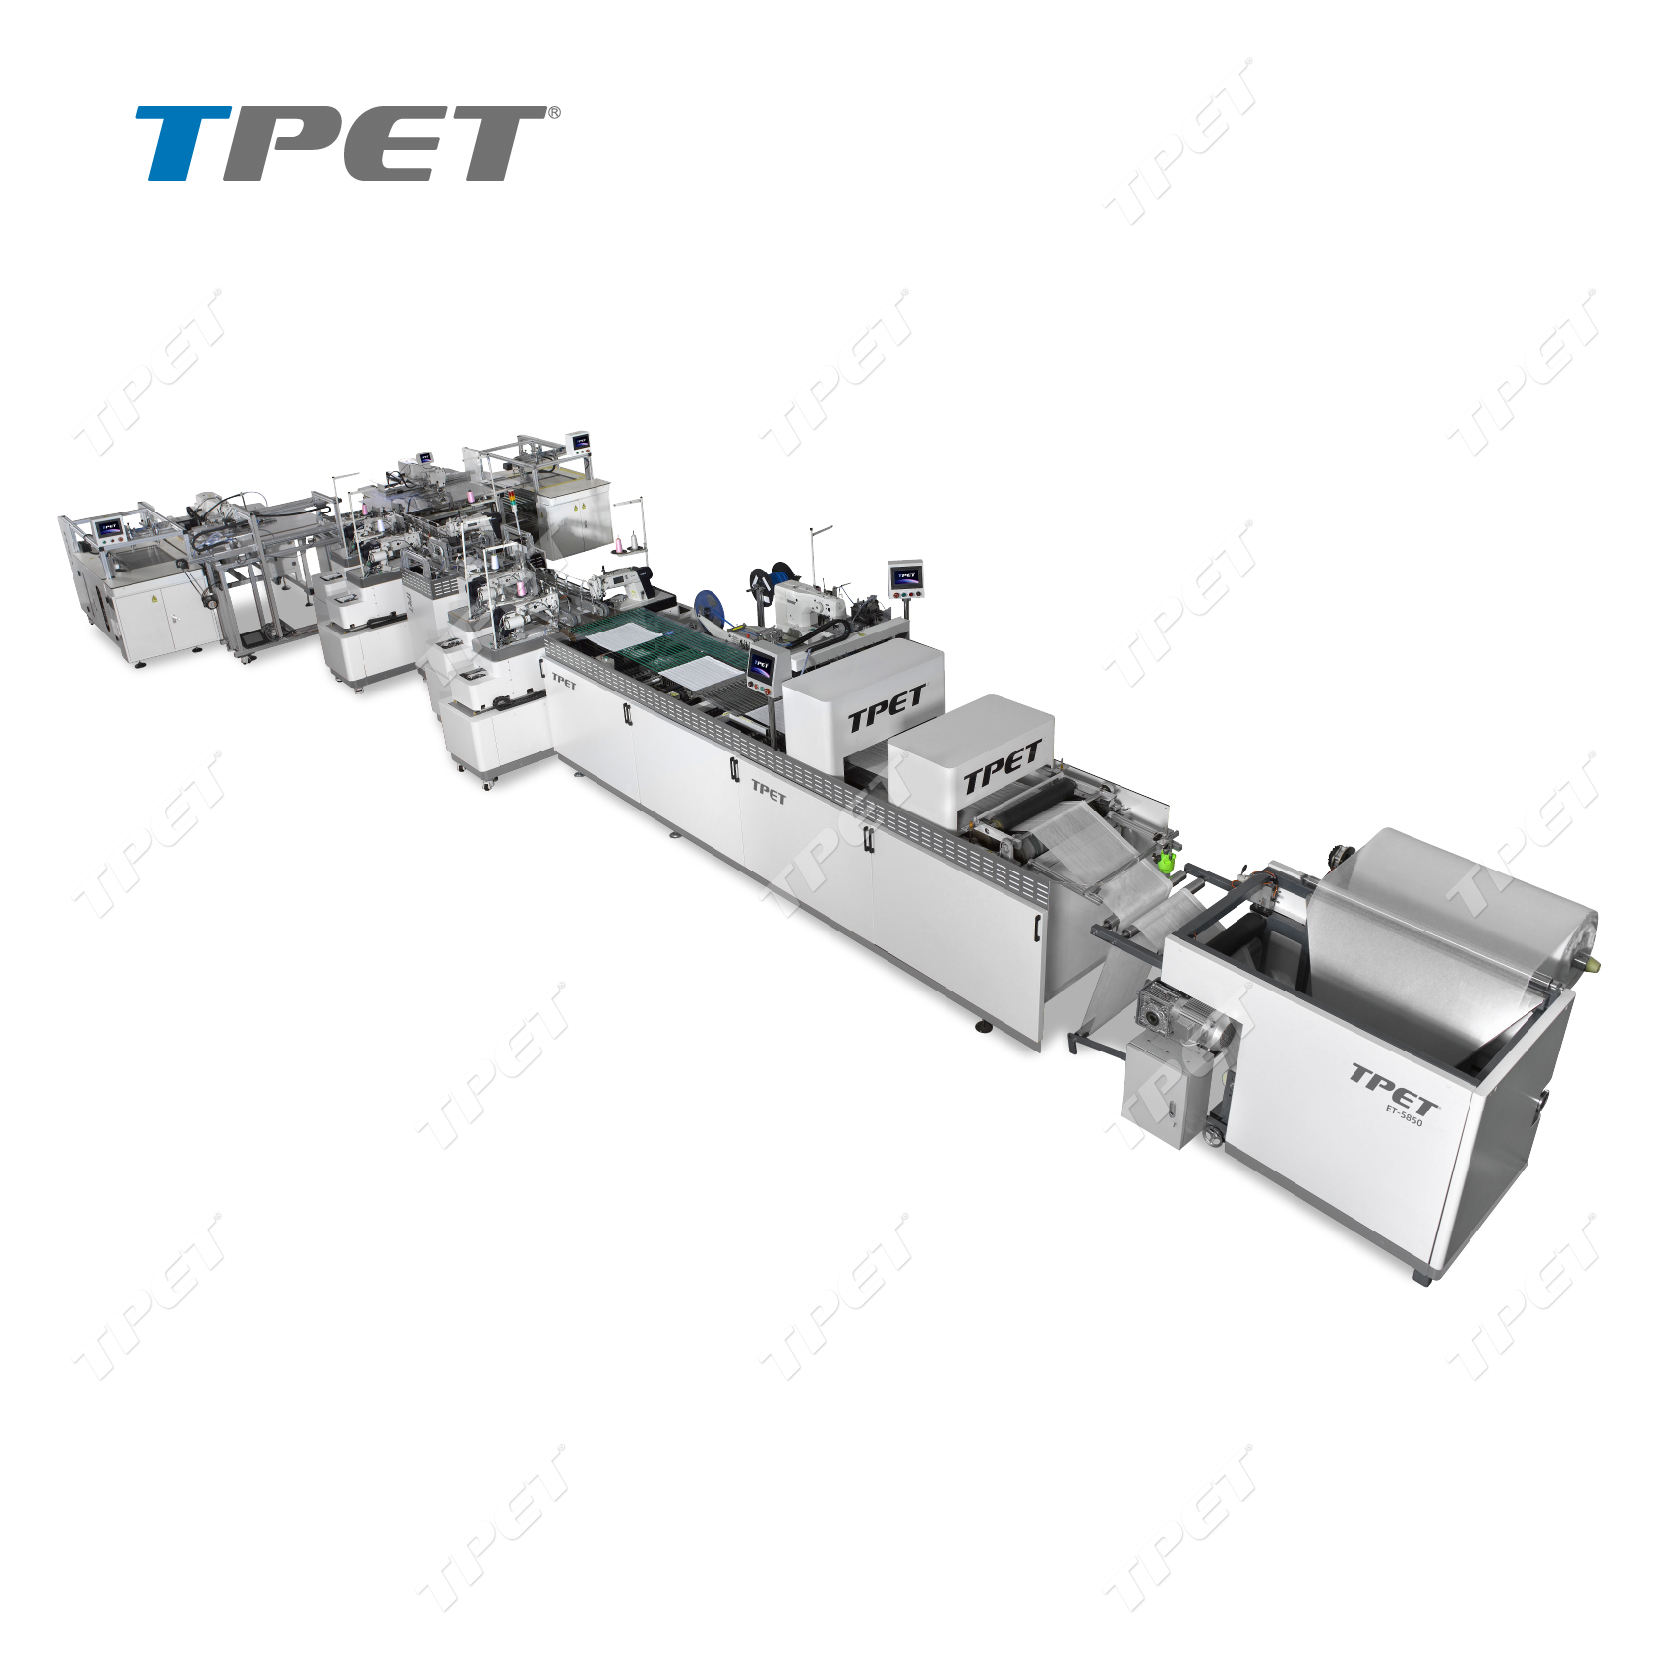
The gauze folding machine is a high-efficiency solution designed for the automated production of medical gauze products.
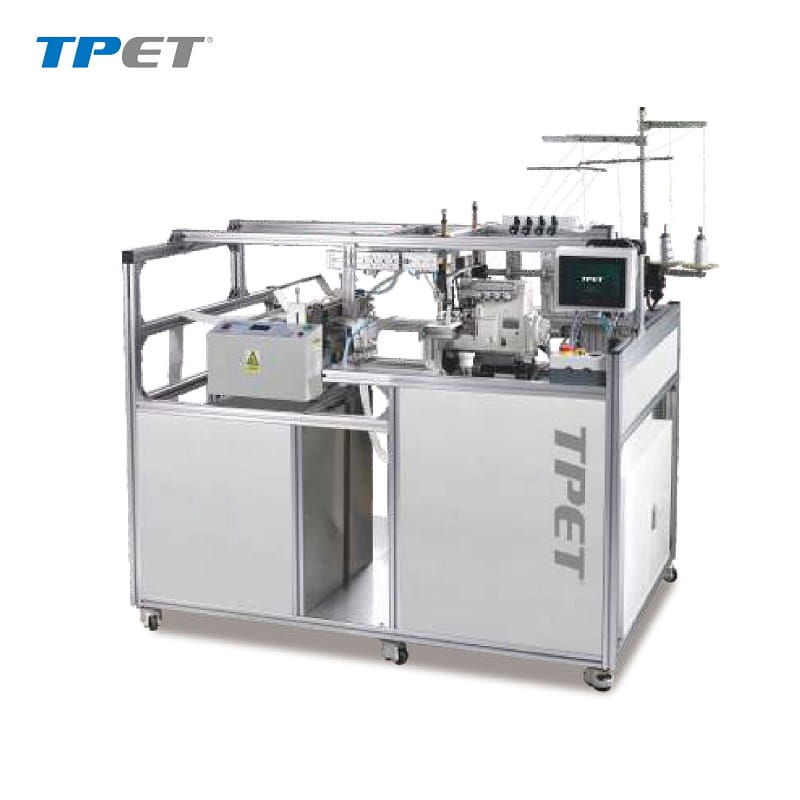
This fully automatic medical bandage cutting and sewing machine integrates precise cutting, sewing, and Velcro attaching into a single streamlined process.

 EN
EN